DIY : Homemade fish garland for some ocean-inspired child deco
Learn how to create a decorative seaside garland, with this nice and easy diy tutorial !
It is not that simple to find some unique and original objects to decorate our children's bedrooms. So why not make our own kid deco ? In this article, we will show you how to do this simple deco DIY in order to make some sea-style fish garland to colour your kid's bedroom. Whether you are used to DIY or not, are you ready to put yourself into it ?
Get ready to make some fish wall deco easily
Ready to get down to business ? Before you start your creation, let us see what material you need for this seaside-style garland DIY. Here is the list of items you need in order to make this fish wall deco :
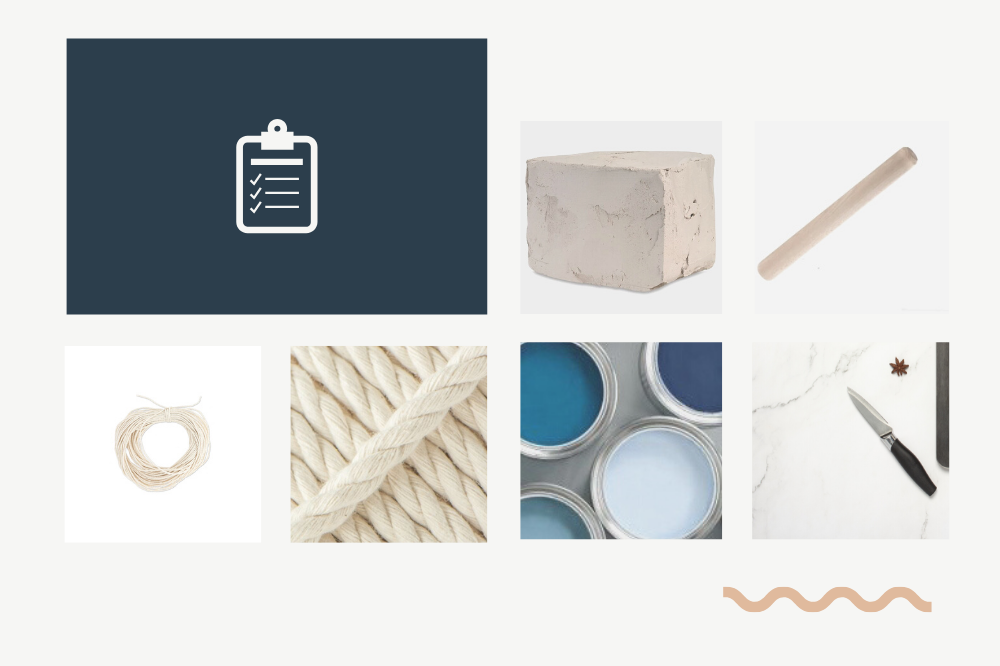
- Self-curing clay
For this decoration DIY, we recommend you use self-curing clay to model your fish so you will not have to bake them afterwards. Indeed, we previously tried baking clay but once we removed it from the oven we realised the clay broke easily. As the fish is rather thin, it is better to use self-curing clay to make this fish deco DIY.
- 1 rolling pin
- 1 knife
- 1 toothpick
- 1-meter long rope (8 or 10mm in diameter)
- Some string or cord (1 or 2mm in diameter)
- Paint
Regarding the paint, we opted for dark-blue, light-blue and white colours so this child deco reminds us of the sea. However, you are free to choose other colours that will match better your kid's current deco.
- 1 paintbrush
Once you have all the necessary material listed above, you may start your creation. Get started and follow the different steps to make your fish garland !
Proceed to the making of your homemade fish deco
It is now time to get your hands dirty, don't you think ? To create this sea-style wall deco, you obviously need fish. No need to go and fish them, it is up to your hands to model them. Ready, Set, Go !
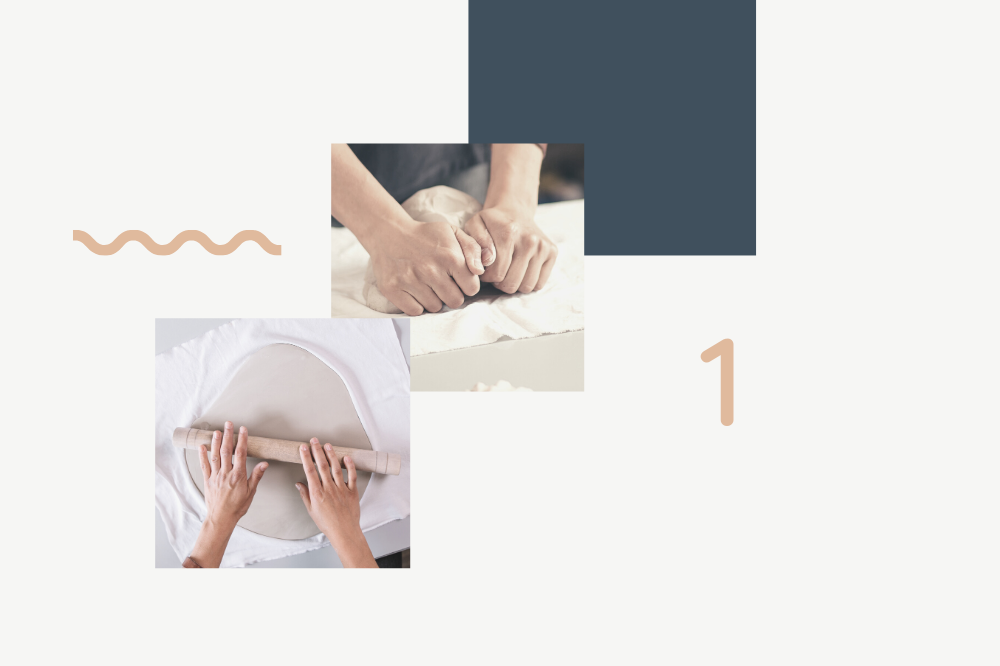
To make your handmade fish, you need to use some self-curing clay. Before modelling your little water creatures, you need to knead the clay to remove all air bubbles. Then, you may spread it on your worktop or table with your rolling pin to make a 5mm-thick layer. Protect your support with a chopping board or greaseproof paper.
Now that the clay is ready to use, let us move on to the sculpting stage. It is now time to let your imagination flow and create unique little fish that will appeal to your kid. To begin, sculpt the shape of each of your fish with a knife. We decided to model 4 fish whose size slightly differ from one another of about 10cm in length. You may of course sculpt more fish of different sizes to swing between small and big ones. Once your fish are formed, make them eyes that you will design with a toothpick. Make sure the eye hole goes completely through the fish so you can hook it on the seaside-style hanging. Then, have fun decorating them ; sculpt some scales, fins... Give some style to all your little fish !
Once each fish has its own style, put them aside and let them dry for about 24 hours until they get completely hard.
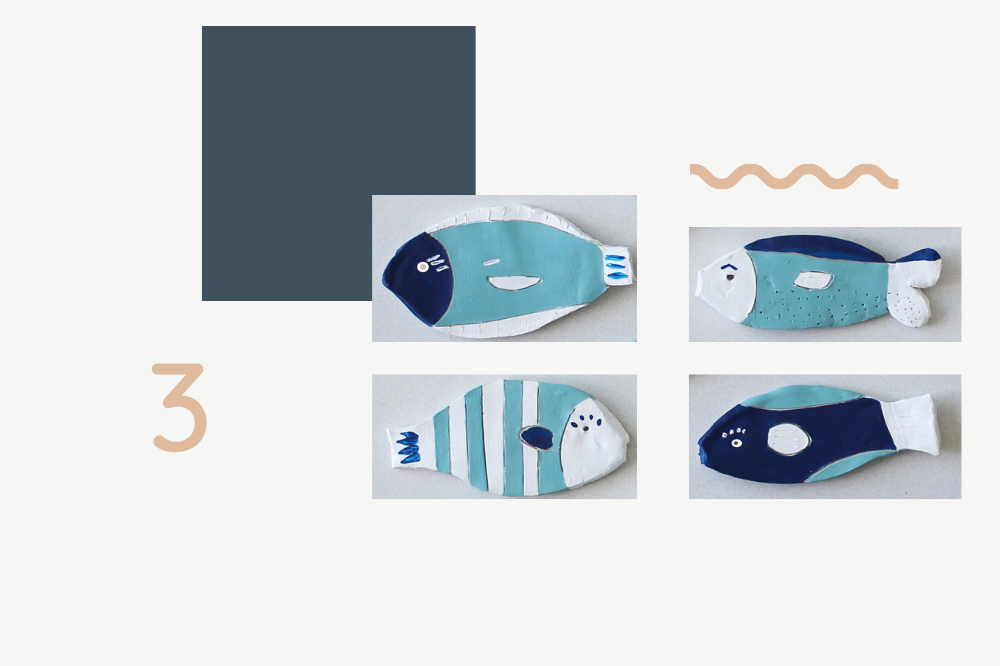
The following day, when your fish are hard, you will need to put on your prettiest painting apron and grab your paintbrush as it will be time to colour those small pieces of clay. Soak your brush into the colours you have chosen and brighten up your little sea-style deco fish. To paint the fish eyes, we suggest you use a cotton bud to have a better result. Here again, you will need to be patient and let them dry before moving to the next stage of this kid deco DIY.
Your fish hanging is taking shape...
Your little fish are ready to be hung ! Let us not make them wait any longer and let us finish this fish wall deco.
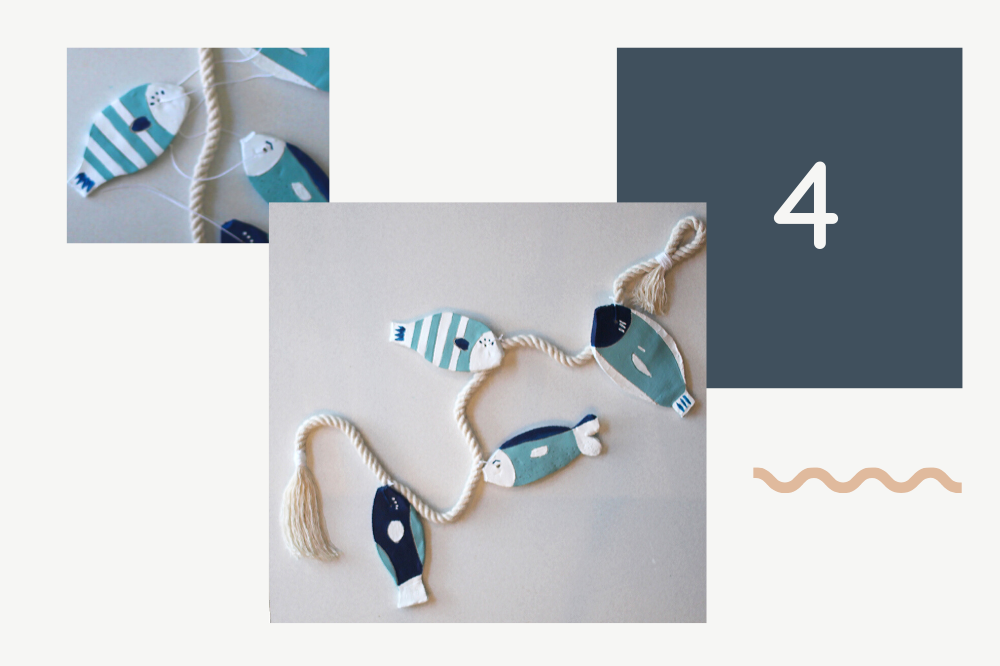
All that is left to do at this final stage of the wall deco DIY is to attach the fish to the sea rope. First, use the string or cord to attach the little fish wherever you want on the rope. To do so, put the string through both the fish eye and rope groove and tie a knot. To add colours to your garland, you can also paint the string or cord with one of the colours you selected earlier. Once all the fish are placed, you may cut off the rope to have the exact length you want.
To hang up your handmade garland, you now have to form a loop. To do so, fold the piece of rope in on itself and wind some string around it. Make sure you tighten the string correctly and that you attach it well so it does not unwind. To obtain something more of a pompom, wind some string around the rope's end and comb it out. Do the same with the garland's loop.
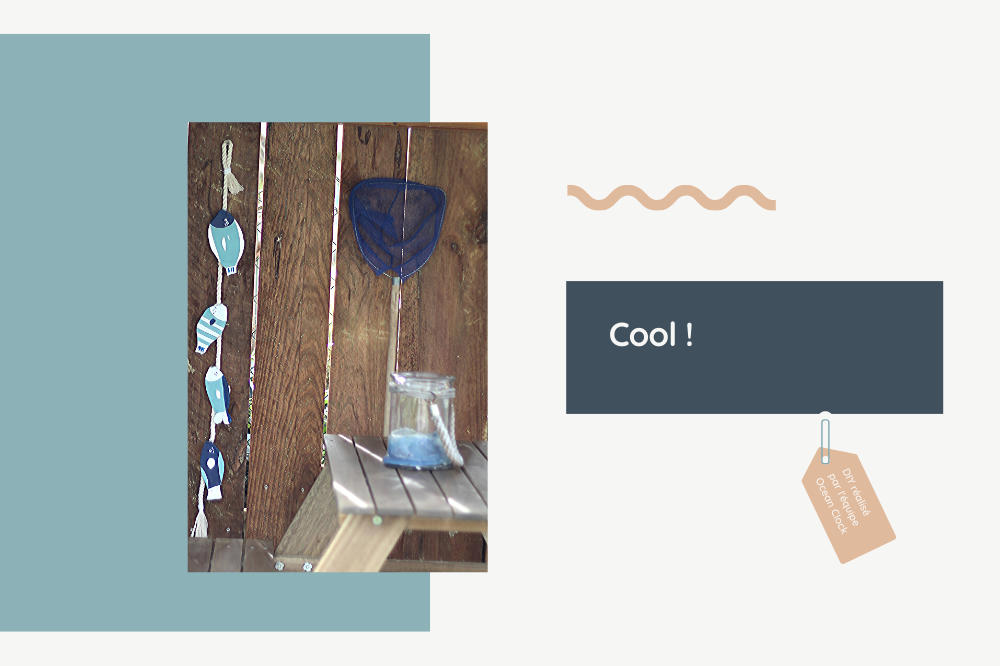
Here you go, your fish garland is ready to adorn your kid's hut or bedroom with some seaside style. To find more creative ideas, visit our blog and check out our selection of 100%-ocean deco DIY. You like seaside-style wall deco? Fall for our revisited deco floats to hang inside your house.
Even more news
-
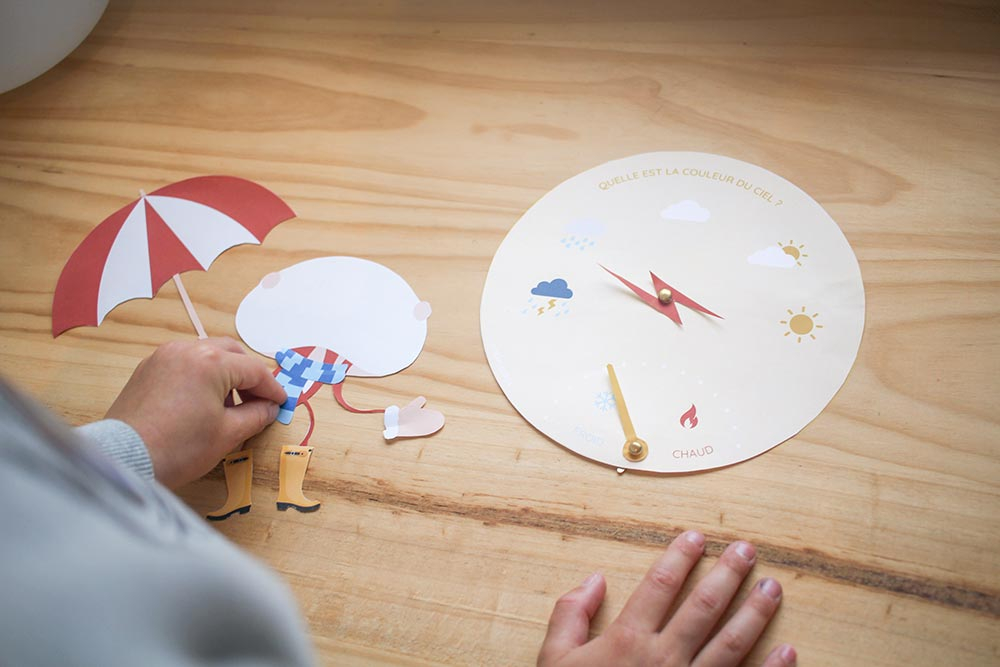
DIY : making a weather station for the little ones in a flash
Learning about the weather becomes child’s play thanks to this DIY accessible to all
-
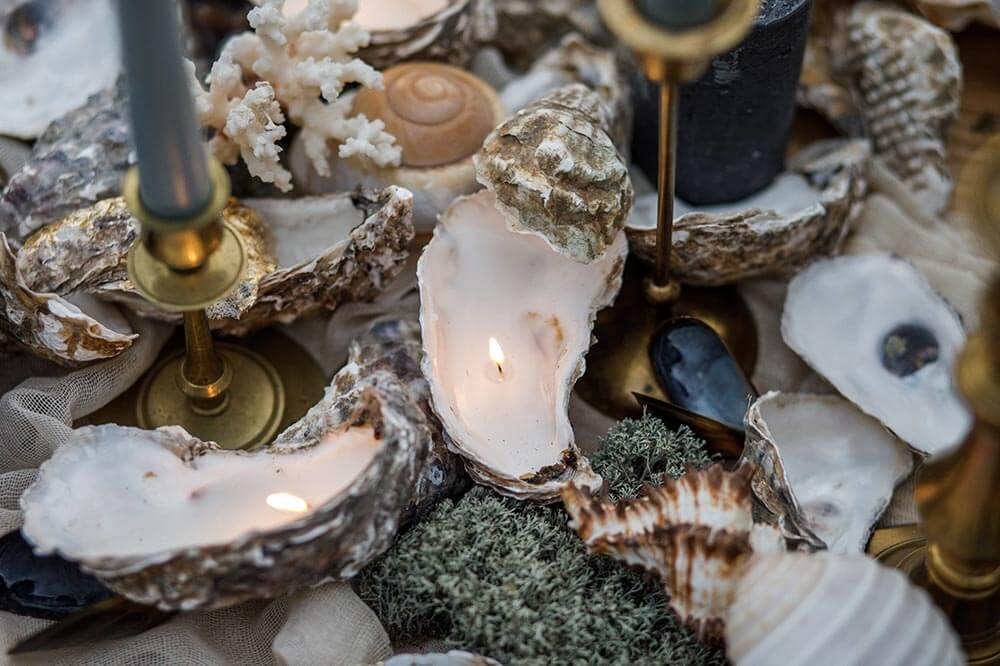
How to recycle your oyster shells from Christmas Eve?
Our ideas to give them a new life
-
DIY: Create seaside coasters for your summer breaks
Cool and easy table decoration idea : check our DIY out : 100% made by Ocean Clock