DIY: Create seaside coasters for your summer breaks
Cool and easy table decoration idea : check our DIY out : 100% made by Ocean Clock
The BBQ season has finally started and having drinks outside is customary! It is now time for us to spend long evenings at the terrace sipping a nice cocktail with friends or family. Our team has put the shoulder to the wheel, or to clay more likely, in order to propose you an easy deco DIY so you can create original coasters that will make you feel as if you were having drinks by the waterside. Before you seriously start thinking about making some, discover, in this article, all our tips to make your own table deco and obtain a seaside-spirited home.
The creative’s perfect gear for some lovely marine-inspired coasters
Can’t wait to create? Easy, easy… Before we start presenting you the different stages of this DIY, let us first speak about the gear you need to have to make these original coasters. To start creating, you will need:
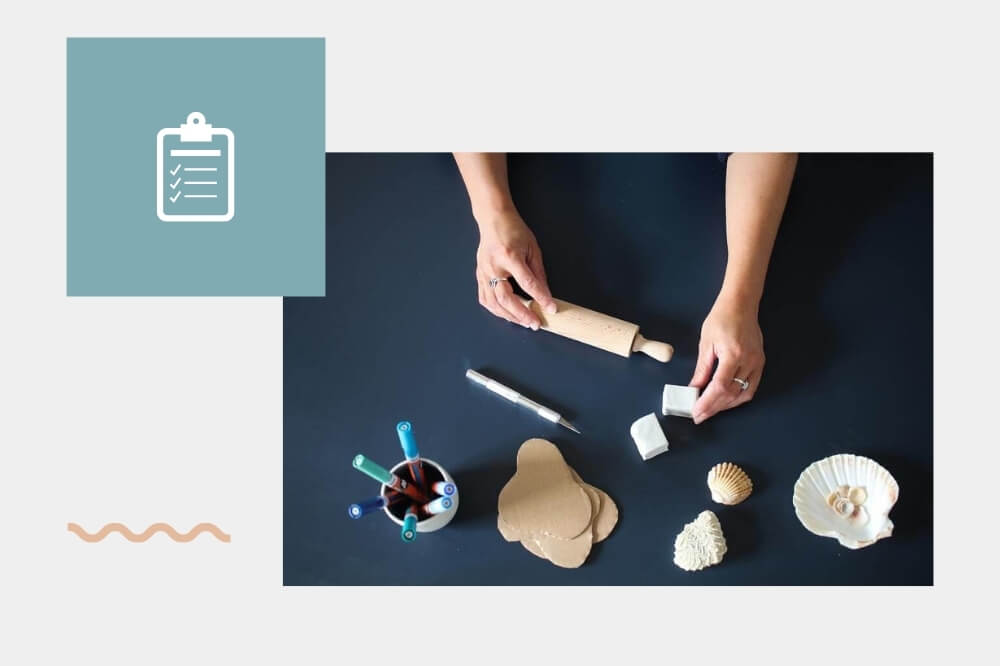
- Self-hardening clay
There are different types of clay: the self-hardening one and the traditional one to cook. To avoid possible cracks when cooking, we decided to use self-hardening clay that requires about a day of rest in order to harden without altering the style of your creations.
- A rolling pin
- A knife
- Paper or cardboard
It will help you make your own patterns to design the shape of your coasters, at the second stage of this decoration DIY.
- Paint or Posca marker pens
Posca marker pens are a good alternative to paint as they enable better precision when colouring small details. If you use paint, we advise you to have a thin paintbrush at hand to avoid going over the edges.
- Shells or a piece of string
These elements will help you decorate your coasters in a seaside-spirited way. Of course, you may adapt this list according to the style you want to give them.
Start by creating the shape of your 100%-ocean coasters
Before working in clay, choose the shape of your collection of handmade coasters and prepare some paper or cardboard patterns: round, asymmetric, square, seashell-shaped… Treat yourself and opt for the shape you want.
Leave your patterns aside for a moment and let’s get down to business! To make your coasters, first cut the clay according to the shape you want your coasters to have. We recommend you cut off only one piece of clay per coaster at a time.

Then, knead your piece of clay to make it more flexible, you may also split the paste in two so it heats up more quickly. As soon as you notice it is shapeable enough, take your rolling pin and flatten the clay so you get the right size and thickness for your coasters.
.jpg)
To design the shape of your original coaster, get a knife and put the pattern on the clay previously spread. Then is the cutting stage, when you must carefully follow your pattern’s edges.
Finally, remove the extra clay hanging out and smooth by hand the edges of your coaster. Follow the same procedure for each coaster.
Get inspired by the ocean for the decoration of your own handmade coasters
Is your cute seaside deco ready to be dressed up? To give an original style to your coasters, add seaside-inspired little details by using shells or a piece of string.
Adorn your creations with small patterns by making small seashell prints. For a better outcome, opt for well-striated seashells and you will enhance your creation even more. Do not hesitate to mix shell shapes for some most original seaside deco.
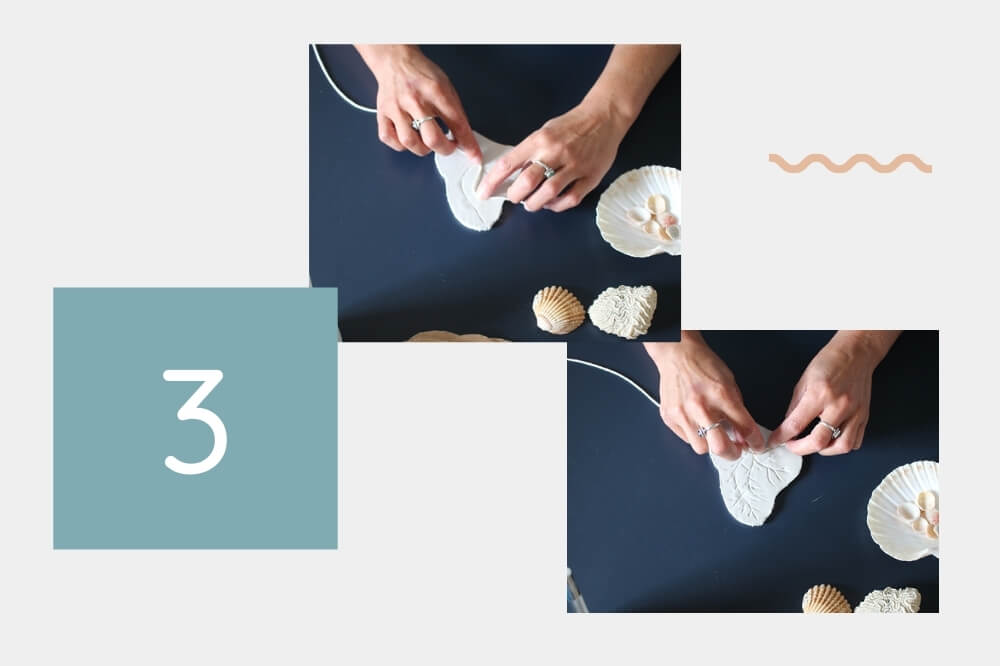
You can also use a piece of string to give some seaside spirit to them by drawing a coral. Start by drawing the coral’s structure and add the small branches as you wish.
Then, let the clay rest about 24 hours until it gets completely hard. This period of time may differ depending on the clay you choose. You will have to be a bit patient before bringing the last touches to your handmade table deco.
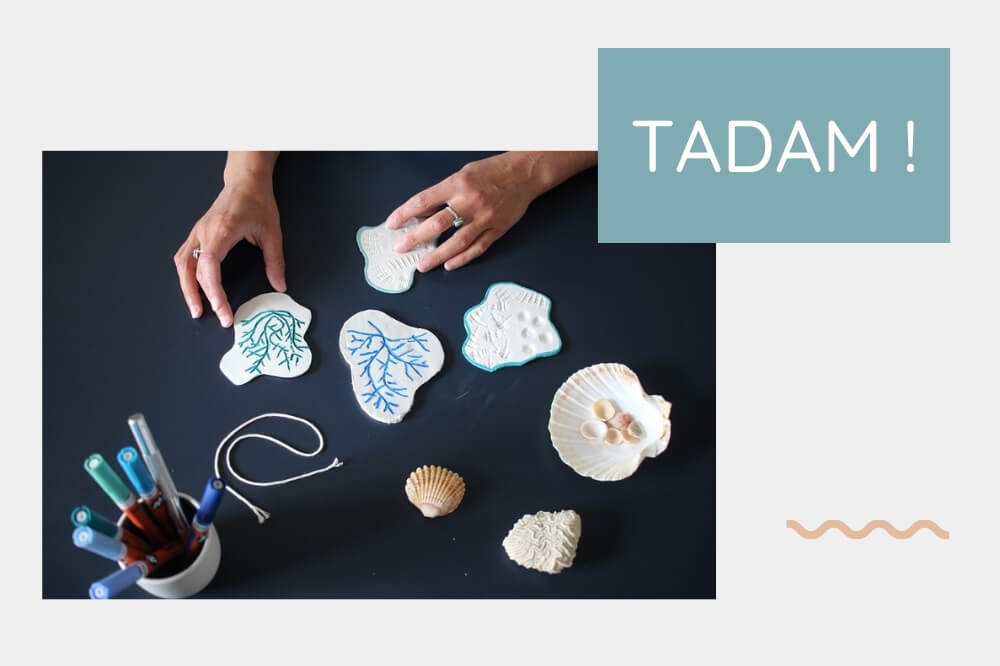
To colour your creations and give them some character, get yourself a Posca marker pen, or a thin paintbrush with some paint of the colour of your choice. To create some seaside decoration, we chose to colour our coasters with different shades of blue. Perfect tints to match our homemade coasters with a peacock blue tide clock or marine paddle.
 (1).gif)
Regarding our « coral » coaster, we chose to paint the string’s marks to enhance the coral’s pretty lines.
Regarding the coasters with the seashell prints on, we preferred to colour only the coaster’s edges in order to enhance very naturally the shells’ prints. Of course, you are free to create and paint whatever you want.
Decorate each of your coasters differently and match them! Once the paint is dry, you can join your friends or family around a drink in your garden and enjoy the sun and the long summer days to come.
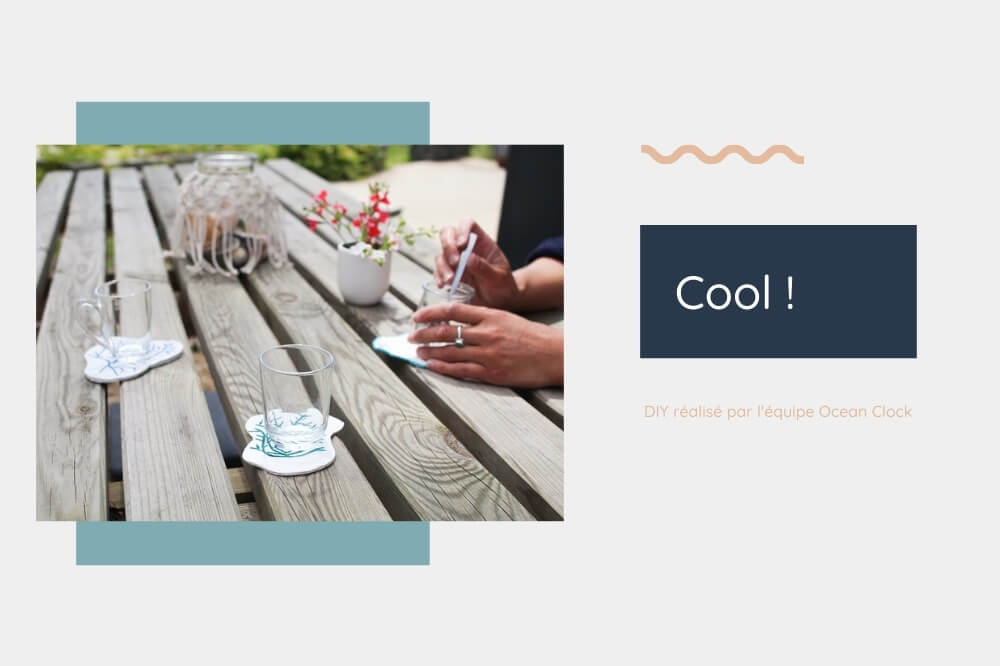
It is up to you to create now! What ocean elements will inspire your creativity and make your guests travel to the waterside?
Have you enjoyed this deco DIY? Find out about all our ocean-inspired handmade-deco ideas on our blog.
Even more news
-
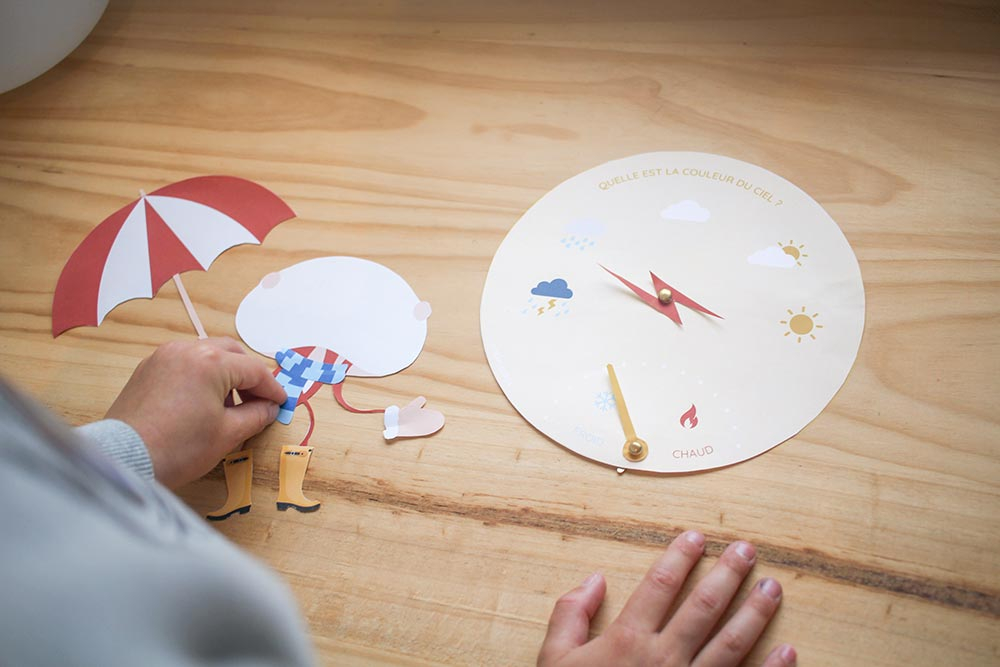
DIY : making a weather station for the little ones in a flash
Learning about the weather becomes child’s play thanks to this DIY accessible to all
-
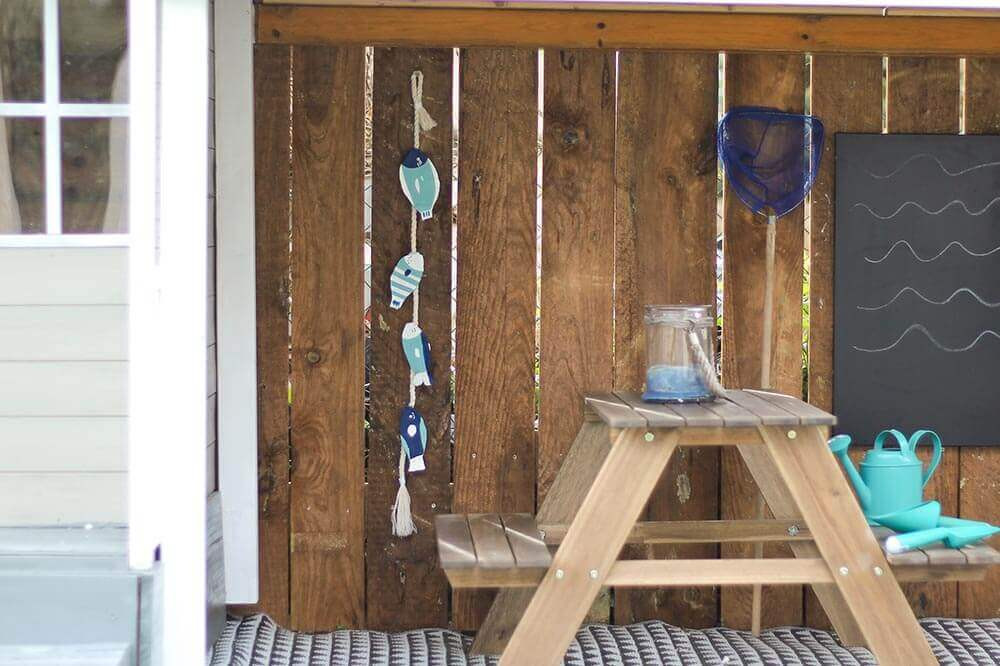
DIY : Homemade fish garland for some ocean-inspired child deco
Learn how to create a decorative seaside garland, with this nice and easy diy tutorial !
-
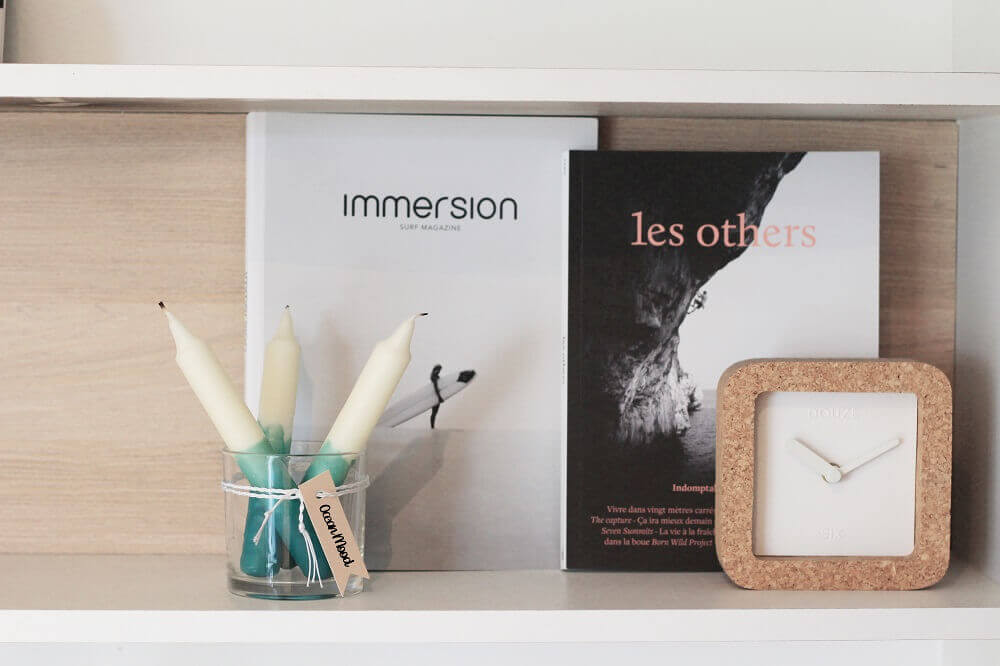
DIY : Melt for some handmade ocean-coloured candles
A quick and easy DIY to create your Ocean Mood candles, an Ocean Clock idea!